Upgrade Your Comfort with Helpful Tips from Our Blog
Looking for other ways to improve your sense of comfort at home? We’re always sharing industry news and insider tips on our Blog. Check out our newest updates today!
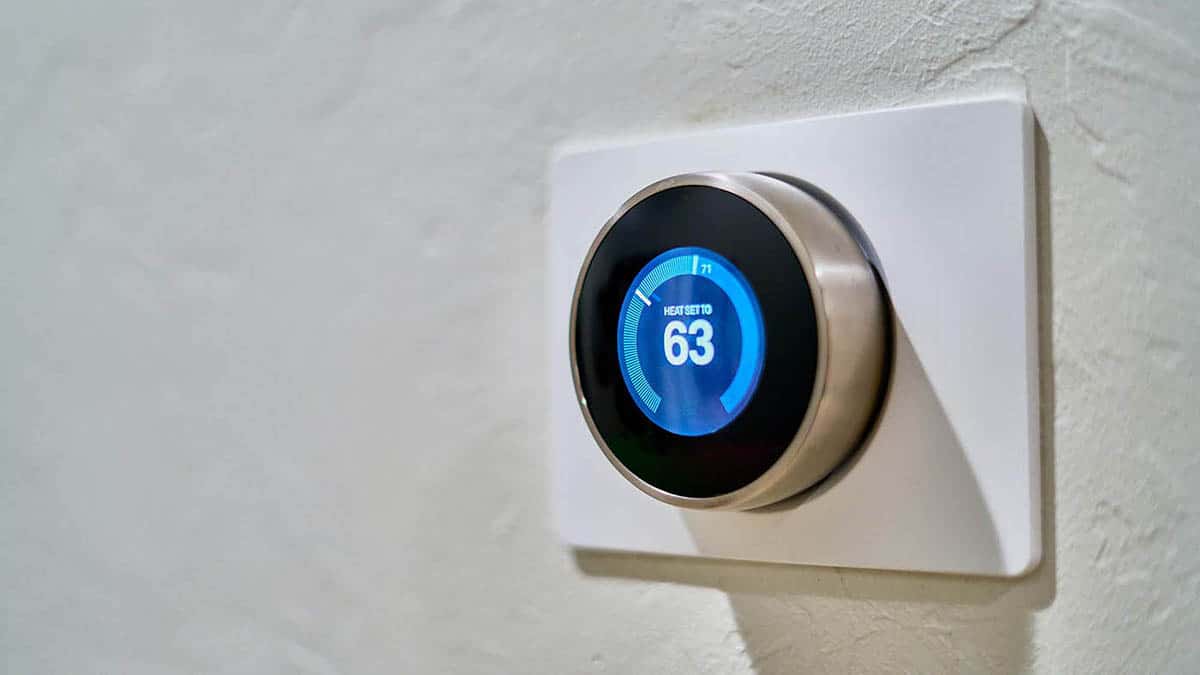
Your thermostat is set to “heat” mode but the furnace refuses to turn on. This is quite frustrating, not to mention uncomfortable. Even more disconcerting is not knowing the reason. Here, we’ll detail why the thermostat says the heat […]
Often times it is assumed that generally, all air conditioners are the same. In theory, this is a statement of fact, as the general purpose of these systems is to remove hot air from inside a home, chill this […]
Perhaps the most important piece of equipment in your Phoenix home is your air conditioner. Your air conditioning system helps to keep your home at the perfect temperature so your family has the level of comfort that they […]
It’s called a fatberg. In London, sewage workers pulled a fatberg from the drains that were reported as 800 feet long and weighed approximately 130 metric tons, the size of 11 double-decker buses. Essentially, a fatberg is just what it […]
While the frequency for repairing or servicing your AC unit will depend on how big it is, how old it is, and how much you make it work, regular maintenance is good. When you hear an AC compressor noise, you should […]
If water flows into your home or business, it can look like a roof leak. A roof air conditioner can leak as well. Since air conditioners run pretty much constantly in the Phoenix area, this is a real possibility. Leaks from […]
An unfortunate reality that all Arizona property owners deal with is hard water. Thanks to the excessive calcium and magnesium ions found in our water supply, residential property owners are tasked with finding the best home water filtration […]
A sump pump can save you the trouble of a flooded basement. It moves water that gets into your home, whether from rain or groundwater tables, out of the structure and to an outside area where it can […]
A clogged shower drain is one of the most common plumbing issues you can deal with, whether you’re a homeowner or a renter. Do you find yourself trying to unclog your drain on a regular basis? Are you tired of […]
In a 2021 report, the National Fire Protection Association reported that, between 2015 and 2019, there were 2,800 air conditioner fires each year. These resulted in 40 deaths and 120 injuries annually, not to mention $86 million in […]


